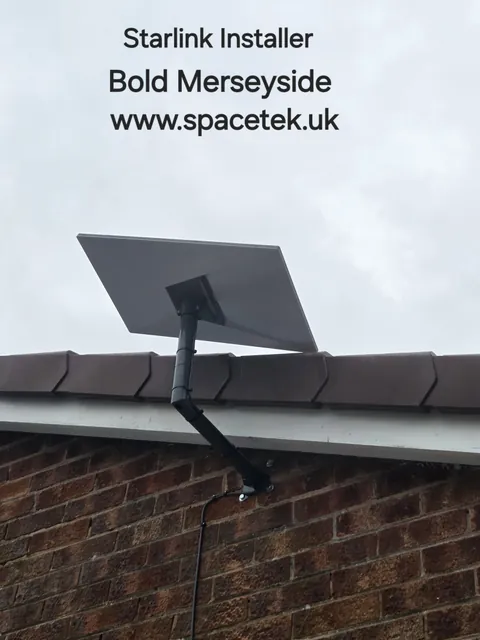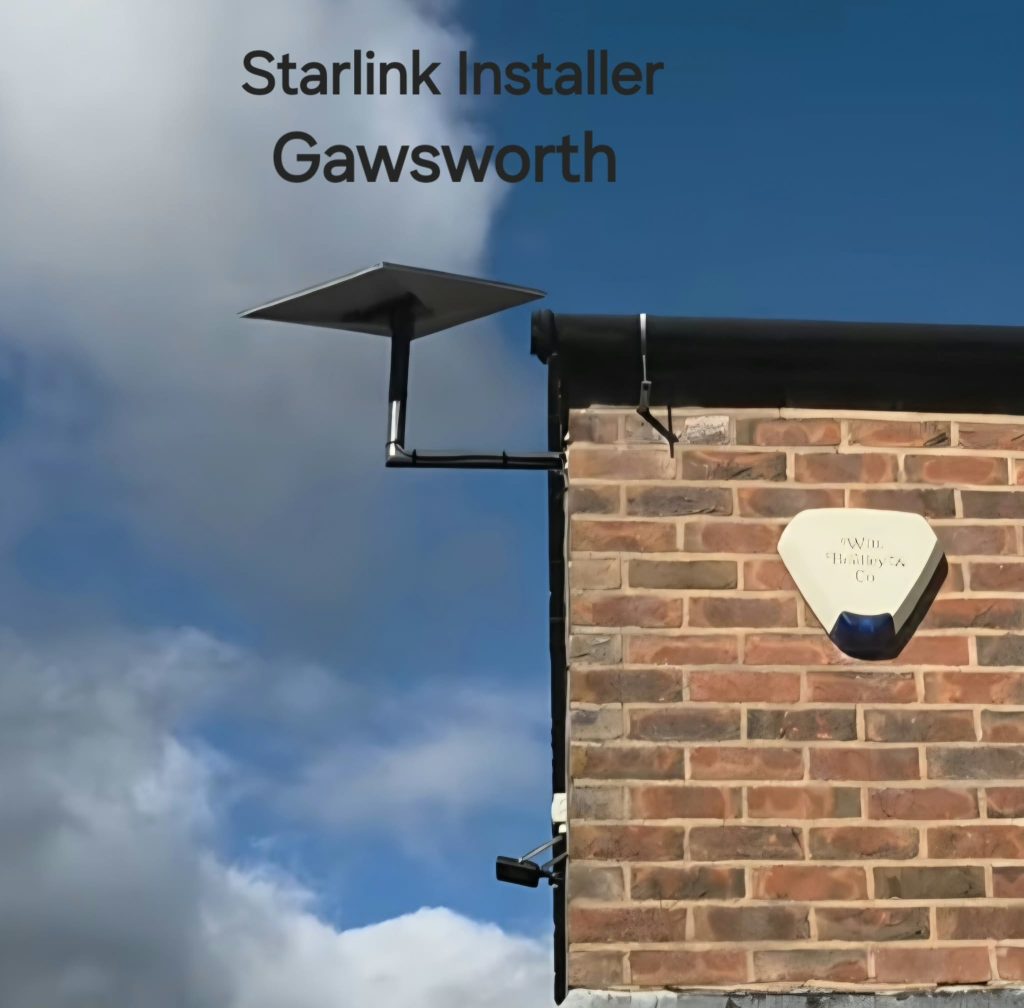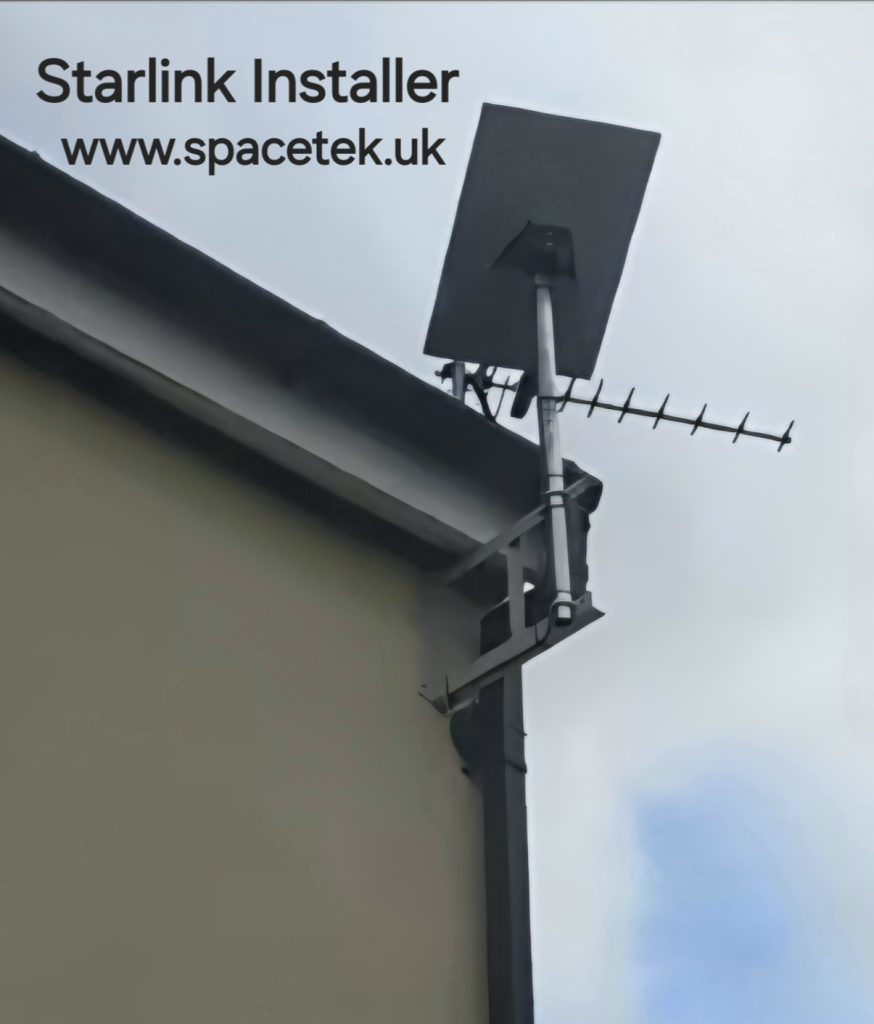
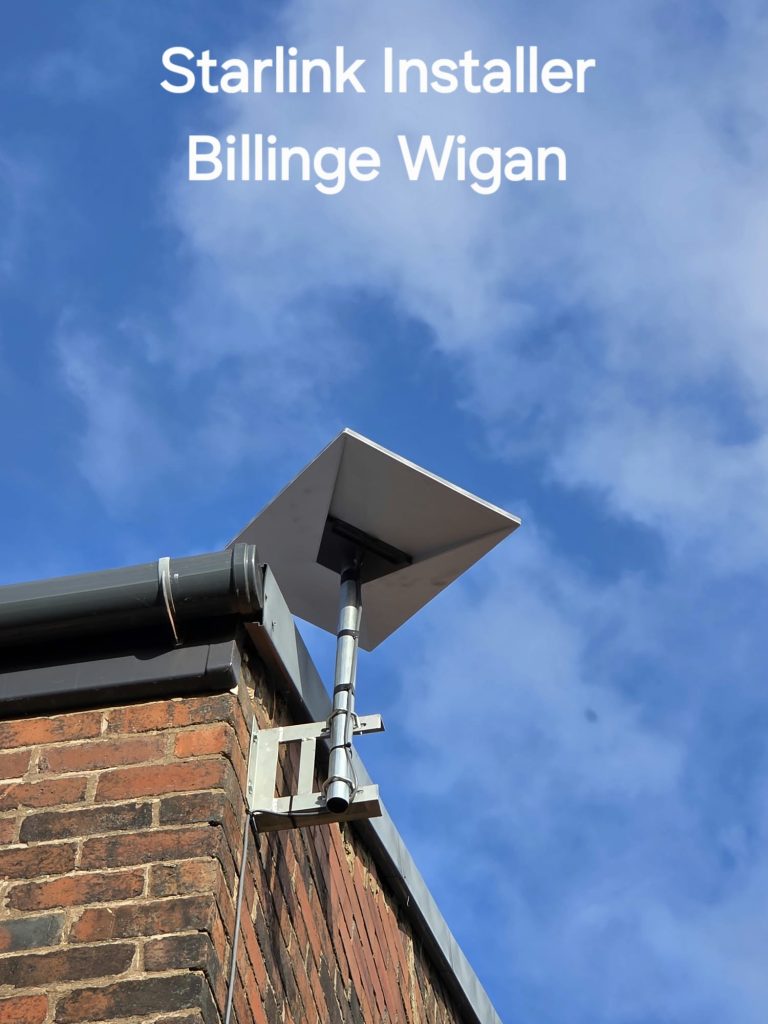
A Starlink cable entry deserves as much planning as the dish position. It is the point where an outdoor installation becomes part of your home, and a decision made only from outside can leave the router in the wrong room. Our Billinge project provides a useful example: the cable travels down the wall and across the building before reaching a covered entry point.
Start with the destination, then trace the route
Choose the indoor destination before work starts. Identify the room, power socket and equipment that will receive the connection. If the main use is a home office, show the desk and any existing network socket. If you need coverage throughout the house, discuss the router position rather than assuming it must sit immediately behind the entry hole.
Walk the proposed route from both sides of the wall. A position that looks unobtrusive outside may meet a radiator, built-in cupboard or awkward corner inside. Resolving that before installation is easier than changing an agreed route once work has begun.
Identify the kit and cable before choosing the opening
Starlink hardware and connectors vary. The opening and routing arrangement must suit the particular cable and connector, not an assumed universal size. Starlink publishes model-specific cable information and warns against cable damage, sharp bends and trapping cables in doors or windows.
Do not treat a temporary cable through an open window as the finished solution. If you want an existing entry reused, have its condition and route assessed. A previously drilled hole may be convenient, but that alone does not make it suitable.
What to agree about the finished appearance
- Where cable will remain visible on the outside wall.
- How the entry will be protected and finished for that wall type.
- Whether an indoor cover or finishing plate is included.
- How cable will be supported between the dish and entry.
- Which parts of the building must remain accessible for maintenance.
A cover plate is part of the appearance; it is not, by itself, proof that the whole entry has been weatherproofed correctly. Ask the installer to explain the finish rather than judging the work only by the visible cover.
A practical handover check
Compare the completed route with what was agreed. Confirm the indoor equipment is in the intended location and that doors, windows and service panels remain usable. Take a ground-level photograph of the route for your records. Leave work at height and any concern about the wall entry to the installer.
Can I extend the dish cable like an ordinary network lead?
Do not assume that you can. Check the cable options and limits for the exact kit; the connection between the dish and its supplied equipment is different from adding a network lead to a computer. See Starlink’s cable and indoor-routing guidance.
For the earlier planning stage, our Little Budworth cable-route guide explains how to compare possible routes.
Project example: Starlink Installation in Billinge: A Gable-Wall Project.
See the Billinge installation
YouTube loads only when you choose to play and allow its cookies.
Discuss your installation with SpaceTek
Send your postcode, kit details and photographs of the property. Request an installation quote or call Bob on 07802 410 222. See our installation service areas and meet SpaceTek UK.
Plan your satellite internet installation
Send your postcode, property type and any known Wi-Fi requirements. SpaceTek UK will review the site information and explain the practical next step.