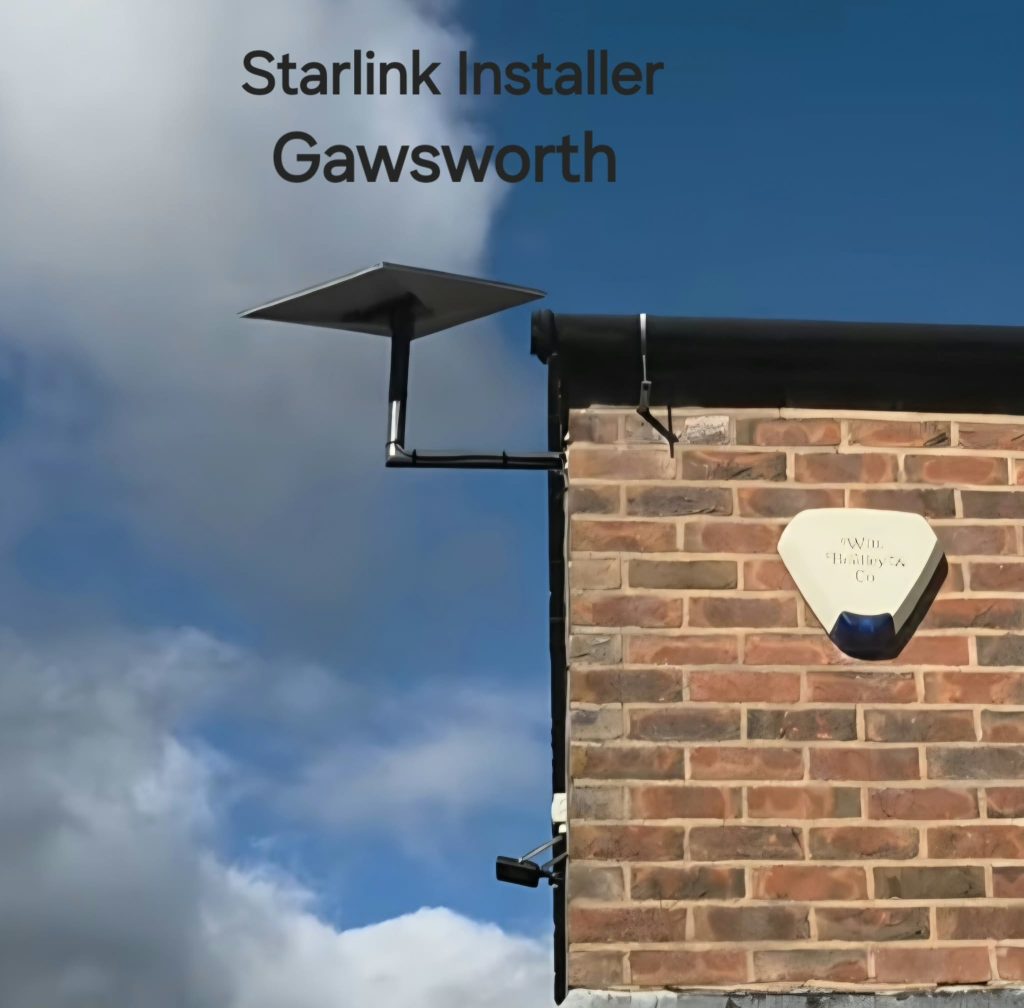
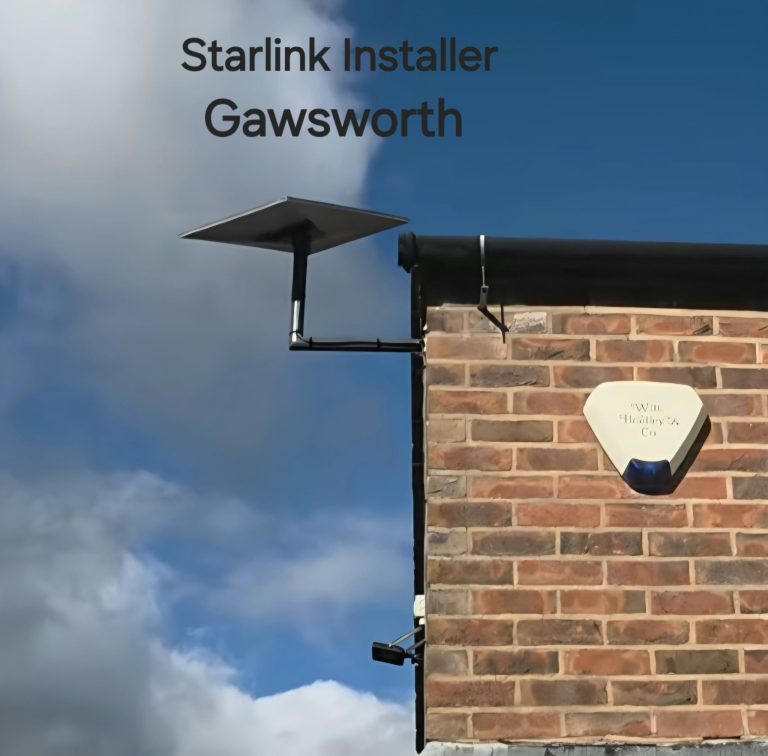
A new Starlink installation checklist helps turn a successful fitting visit into a useful household handover. Our Gawsworth project shows the mount and cable finish, but everyday use happens after the installer leaves. The first week is a good opportunity to check the rooms, devices and routines that matter to you.
Keep a simple installation record
Save the kit details, installation date, agreed cable route and installer’s contact information. A ground-level photograph of the mount and entry can be useful when arranging later building work. Keep account access details securely; they do not need to be included in photographs or sent with a routine enquiry.
Make sure you know which equipment supplies the satellite connection and which devices serve indoor Wi-Fi. If a third-party router or mesh was installed, record who supports it and what was agreed at handover.
Use the connection in the rooms that matter
Check the working desk, main living area and any other agreed coverage location. Try the normal devices rather than relying on a single phone test. Include uploading a file or making a call if those are important uses.
Write down the room and device when something fails. If one room has a problem but devices elsewhere remain connected, that is useful evidence about the indoor network. If all devices lose service together, record that distinction too.
Record patterns instead of changing everything at once
Check the app for relevant alerts and note the time of repeated interruptions. Include whether the issue coincides with weather, a particular application or another large network task. Starlink’s troubleshooting guidance uses alerts, obstruction information and hardware checks to narrow down problems.
Avoid repeatedly resetting or moving equipment before recording what is happening. Changing several things at once can make an intermittent issue harder to explain. Follow the relevant manufacturer guidance, and involve the installer where a concern involves the mounted equipment or cable route.
Review the visible finish safely
From an accessible position, compare the cable entry and route with what was agreed. Report any concern about a loose cable, disturbed finish or maintenance access. Do not climb to inspect the dish or tighten a bracket yourself as part of this checklist.
Who should you contact?
- Installation or cable-route concern: contact the installer with a clear photograph and description.
- Subscription, billing or service-account issue: use Starlink’s account support.
- Third-party router or work VPN: involve the relevant equipment provider or network administrator.
Does one slow result mean the installation has failed?
No. A single speed test does not establish the cause. Record the context, compare the affected devices and follow a structured check. Repeated symptoms with clear times and locations are more useful than a collection of unrelated screenshots.
See Starlink’s intermittent-connection troubleshooting and official customer-support guidance. More property examples are available in our installation gallery.
Project example: Starlink Installation in Gawsworth: A Discreet Cable Finish.
See the Gawsworth installation
YouTube loads only when you choose to play and allow its cookies.
Discuss your installation with SpaceTek
Send your postcode, kit details and photographs of the property. Request an installation quote or call Bob on 07802 410 222. See our installation service areas and meet SpaceTek UK.
Plan your satellite internet installation
Send your postcode, property type and any known Wi-Fi requirements. SpaceTek UK will review the site information and explain the practical next step.